Automatically Embed Latest Youtube Videos on Your Website With JavaScript (Step by Step)
In this tutorial, you’ll learn how to make an HTTP request to Youtube with the JavaScript fetch() method to dynamically embed new video on your website as you publish it on youtube. You can find the whole code on GitHub
Fetch API comes with a fetch () method that allows you to fetch data from different places and work with the data fetched. It allows you to make an HTTP request, i.e., either a GET request (for getting data) or POST request (for posting data).
Here is a simple example of fetching data which makes it easier to understand the concept.

HTML Code
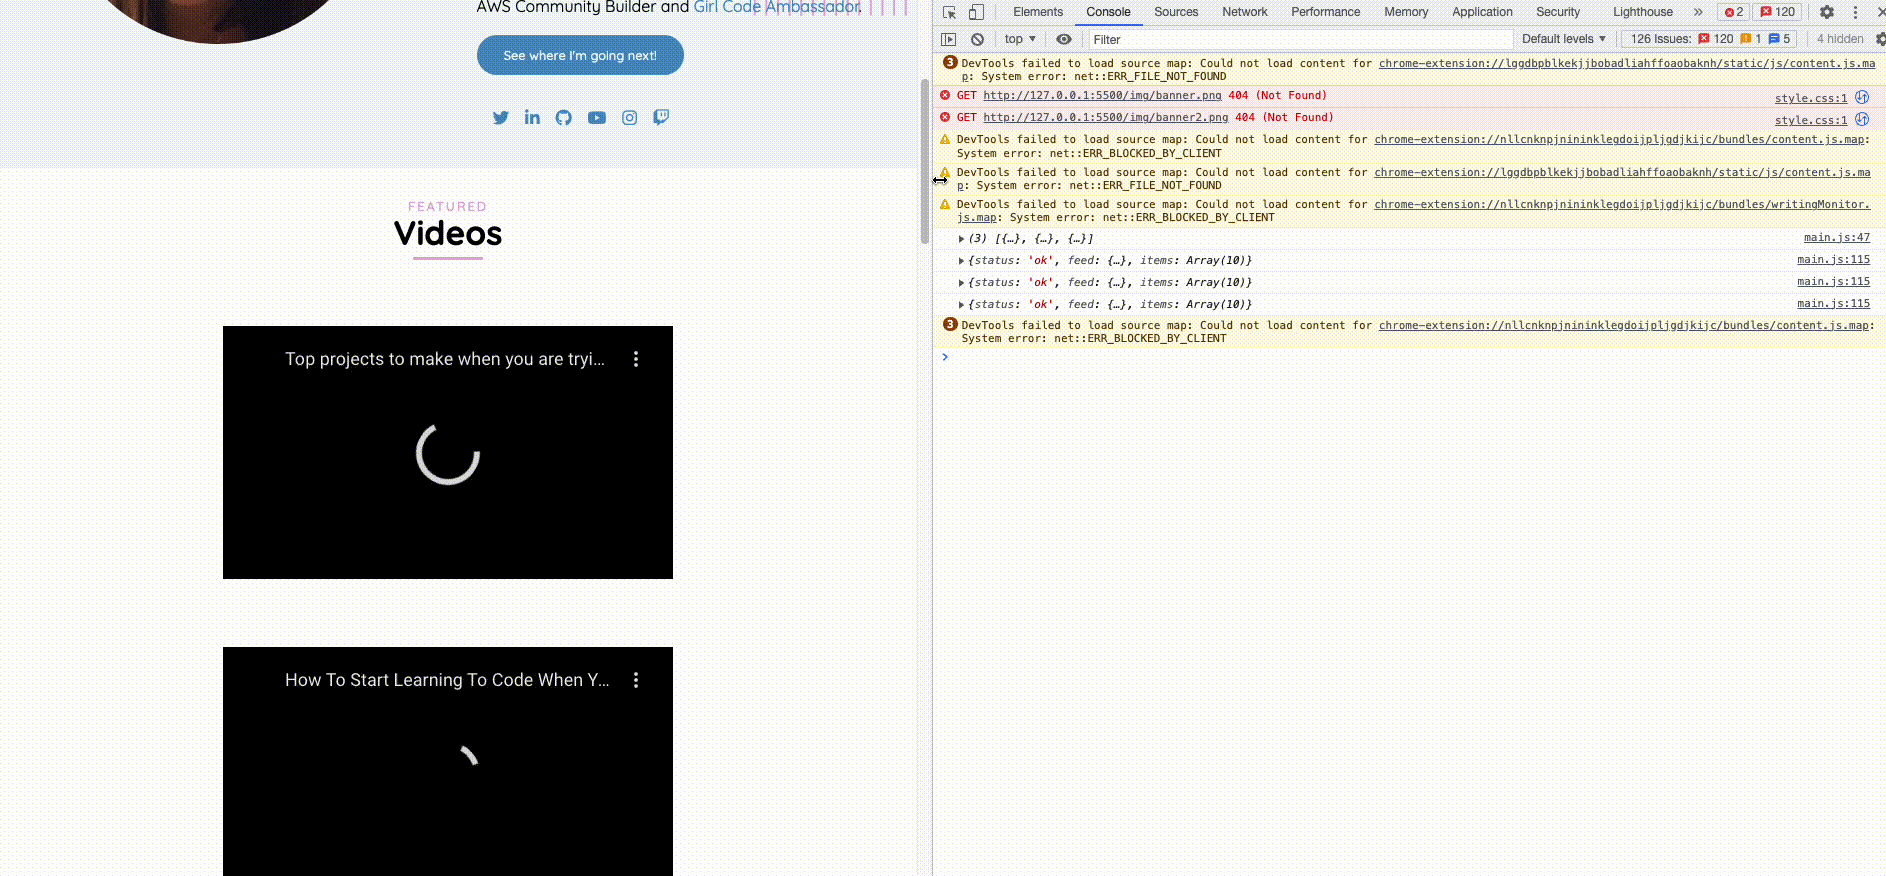
Begin by creating an HTML file and three divs with iframe elements inside with the class “latestVideoEmbed”. If you want to add more videos, add more divs. Don’t forget to add a link to the stylesheet and the javascript file through the script tag.
<!DOCTYPE html>
<html lang="en">
<head>
    <meta charset="UTF-8">
    <meta name="viewport" content="width=device-width, initial-scale=1.0">
    <title>Youtube Fetch API Demo</title>
    <link rel="stylesheet" href="css/style.css">
</head>
<body>

<div>
<iframe class="latestVideoEmbed" vnum='0' width="600" height="340" frameborder="0" allowfullscreen></iframe>
</div>

<div>
<iframe class="latestVideoEmbed" vnum='1' width="600" height="340" frameborder="0" allowfullscreen></iframe>
</div>

<div>
<iframe class="latestVideoEmbed" vnum='2' width="600" height="340" frameborder="0" allowfullscreen></iframe>
</div>

    <script src="js/main.js"></script>
</body>
</html>
JS Code
Now let’s tackle the javascript code.
Creating the Main Function
We will create an arrow function that will englobe all the code.
const loadVideo = (iframe) => { /* CODE IN HERE */ }
Getting the URL of the API
Build a URL to send the GET request to.
- Specify your unique channel ID (cid)
const cid = "UC_un3YZXBtAlCyApGu4_eSP"
To find your channel ID: Sign in to YouTube. In the top right, click your profile picture Settings. From the left menu, select Advanced settings. You’ll see your channel’s user and channel IDs. https://www.youtube.com/account_advanced
- Encode the URL with the channel ID as a query string parameter.
Safely encode a URL using JavaScript such that it can be put into a GET string.
const channelURL = encodeURIComponent(`https://www.youtube.com/feeds/videos.xml?channel_id=${cid}`)
- RSS to JSON API.
The rss2json API allows developers to convert an RSS feed into properly formatted JSON data by submitting its URL so that it can be fetched, then you can embed the results to your sites.
const reqURL = `https://api.rss2json.com/v1/api.json?rss_url=${channelURL}`
Sending a Request
In the fetch request, we pass the URL of the API as a parameter(reqURL), which represents the path of the resource to be fetched.
fetch(reqURL)
***Then a response is received. However, the response we get is not JSON, but an object with a series of methods that can be used depending on what we want to do with the information. ***
We’ll add the then() method, which will contain a function with a parameter called response. The response parameter takes the value of the object returned from fetch(url). To convert the object returned into JSON, use the json() method.
.then(response => response.json())
Reading the response
The browser immediately starts the request and returns a promise that the calling code should use to get the result.
The dataset has many properties, as shown below, but we will focus only on the link property.

When the fetch is successful, we read the response body and parse the result as JSON, then read values out of the resulting objects and set the appropriate URL in the src to display each video accordingly.
The JSON data still needs to be processed. Add another then() statement with a function that has an argument called result:
.then(result => { })
Still within the main function, we’ll create a variable called videoNumber equal to vnum from the HTML file.
const videoNumber = iframe.getAttribute('vnum')
Create a variable called link that is set equal to the URL from each item:
const link = result.items[videoNumber].link;
Create a variable called id that is set equal to query parameter of each link:
The handy JavaScript substring() method will create a new string from the link starting from the next character after the = sign. So for ex, the link for vnum 0 is “https://www.youtube.com/watch?v=8SjHoeyn3Ac" and the id is 8SjHoeyn3Ac
const id = link.substring(link.indexOf("=") + 1);
Each iframe needs the appropriate src to display the video. The src attribute specifies the location (URL) of the video file. The string interpolation will allow us to do it (it’s the same as if we were concatenating the variables).
iframe.setAttribute("src", `https://youtube.com/embed/${id}?controls=0&autoplay=1`);
Catching errors
The API you call using fetch() may be down, or other errors may occur. If this happens, the reject promise will be returned. The catch method is used to handle reject. The code within catch() will be executed if an error occurs when calling the API of your choice.
.catch(error => console.log('error', error));
Loop
Finally, we use a DOM selector to grab the iframe. Use getElementsByClassName() with ‘latestVideoEmbed’ as the argument and iterate with a for loop through the JSON data fetched and add them to the iframe elements.
const iframes = document.getElementsByClassName('latestVideoEmbed');
      for (let i = 0, len = iframes.length; i < len; i++) {
        loadVideo(iframes[i]);
      }
CSS Code
On the HTML file, let’s add a new div with the class “videos” comprising all three divs to put them side to side.
<div class="videos">
<div>
<iframe class="latestVideoEmbed" vnum='0' width="600" height="340" frameborder="0" allowfullscreen></iframe>
</div>

<div>
<iframe class="latestVideoEmbed" vnum='1' width="600" height="340" frameborder="0" allowfullscreen></iframe>
</div>

<div>
<iframe class="latestVideoEmbed" vnum='2' width="600" height="340" frameborder="0" allowfullscreen></iframe>
</div>
</div>
On the CSS file, let’s style it using flexbox.
.videos{
display: flex;
justify-content: center;
}

iframe{
  padding: 1rem;
}
Summary
- You just successfully performed a GET request using the Youtube API and the Fetch API. Now, your latest uploads will be pulled out automatically and organized into your page dynamically.
- Use the fetch() method to return a promise that resolves into a Response object. To get the actual data, you call one of the methods of the Response object e.g., text() or json(). These methods resolve into the actual data.
- Use the catch() method or try…catch statement to handle a failure request.
I hope this tutorial may prove helpful to anybody interested in using YouTube’s API to automatically embed videos on their pages.
If you liked this article, go follow me on Twitter (where I share my tech journey) daily, connect with me on on LinkedIn, check out my IG, and make sure to subscribe to my Youtube channel for more amazing content!!